Multisite configuration
Switch the environment to Multisite networkWordPress Multisite is a powerful feature that allows you to manage multiple WordPress websites from a single WordPress installation. Whether you're a developer, an organization, or an individual managing several websites, WordPress Multisite can simplify the management and maintenance of your online presence. In this article, we'll dive into what WordPress Multisite is and provide a step-by-step guide on how to configure it.
What is a Multisite?
WordPress Multisite is a feature that enables you to create a network of interconnected websites within a single WordPress installation. This network can consist of subdomains, subdirectories, or completely separate domains, all managed from a central dashboard. Each site within the network functions as an independent entity with its content, themes, and plugins, while sharing the core WordPress files.
Multisite is an excellent choice for various scenarios:
- Organizations – large organizations with multiple departments or branches can maintain their websites under a single administration, simplifying updates and management.
- Educational institutions – universities and schools can provide sub-sites for different departments, professors, or student groups, all under a unified domain.
- Blog networks – create a blog hosting platform where users can create their blogs under multiple domains.
- E-commerce – run multiple online stores or regional variations of e-commerce site efficiently.
- Content portals – aggregate content from various sources or contributors into a single website with sub-sites for each source.
Step-by-step configuration
-
Backup website – before making any major changes, it's essential to back up the website. This ensures that you have a restore point in case anything goes wrong during the configuration process.
See also the user guide:
Snapshot management
Backup of the environment at a new level
-
Define
WP_ALLOW_MULTISITEconstant – this constant allows you to start migrating to Multisite. After adding the constant, create a new deployment.See also:
Environment variables
Configure WordPress instance using environment variables
-
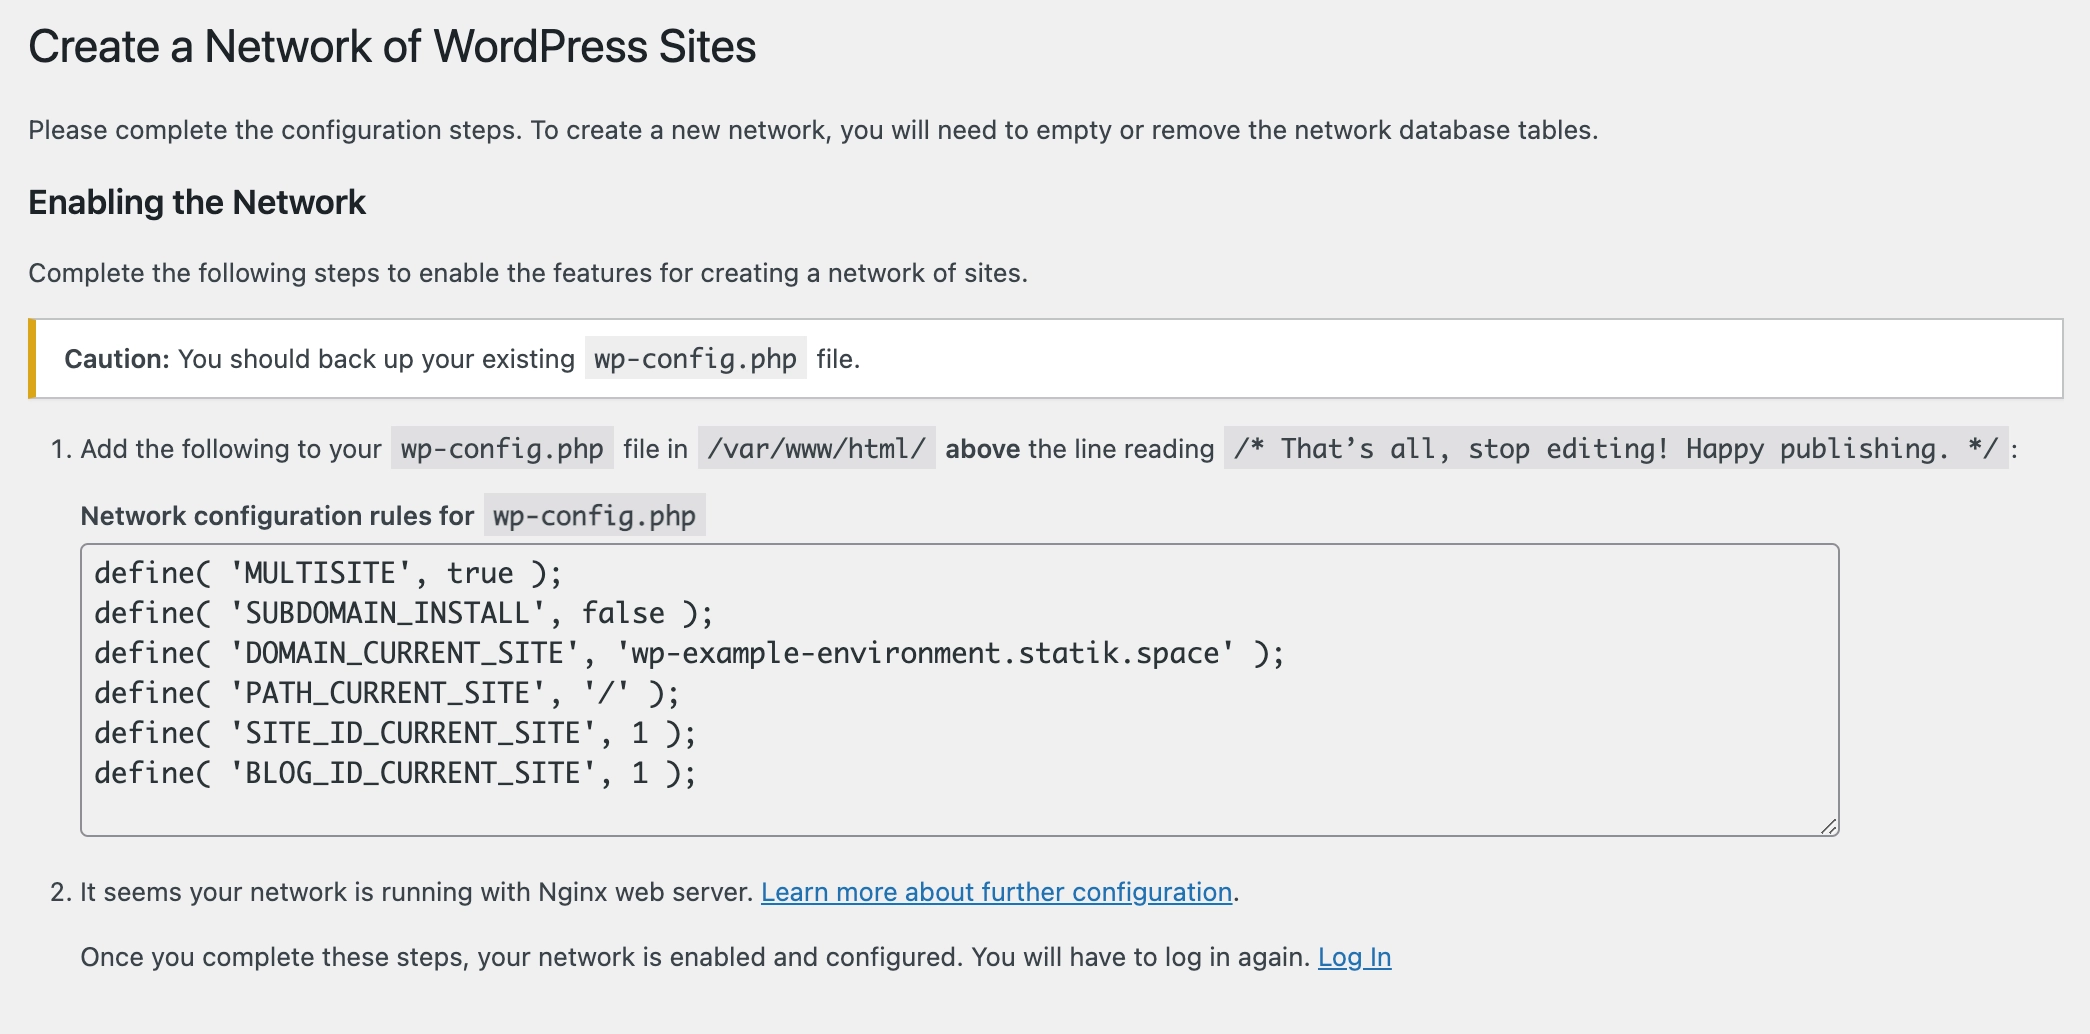
Configure Multisite – log in to WordPress dashboard and navigate to "Tools" => "Network Setup". You will be prompted to choose between subdomains and subdirectories for the network's structure. Add variables that will be lost via SiteBox Dashboard, just like you did for
WP_ALLOW_MULTISITE.
-
Activate the Network – once you've made the necessary changes, return to your dashboard and log in again. You'll notice that you now have a "My Sites" menu in your admin bar. This is where you can add new sites to your network.
Setting up the COOKIE_DOMAIN environment variable
The COOKIE_DOMAIN environment variable is used to set the domain for the cookies. This is important for Multisite
networks because it allows the cookies to be shared between the subdomains.
The COOKIE_DOMAIN constant cannot be set through environment variables available in the SiteBox Dashboard because it requires a dynamic value based on the current domain. However, it can be defined through a plugin placed in the mu-plugins directory, which will be automatically loaded during WordPress startup.
<?php
/**
* Plugin Name: Cookie Domain Setter
* Description: Sets the COOKIE_DOMAIN constant based on HTTP_HOST
* Version: 1.0
*/
if (!defined('ABSPATH')) {
exit;
}
if (!defined('COOKIE_DOMAIN') && isset($_SERVER['HTTP_HOST'])) {
define('COOKIE_DOMAIN', $_SERVER['HTTP_HOST']);
}