GitHub integration
Learn how to connect GitHub account with SiteBox DashboardTo initiate a project on the SiteBox Dashboard platform, it's essential to link it with a Git repository hosted on GitHub. This connection facilitates the efficient management of your project's source code, allowing for collaborative development, version tracking, and effortless synchronization between SiteBox and GitHub.
See also the video tutorial:
GitHub integration
Learn how to connect your SiteBox account with GitHub in this tutorial, covering authorization of the SiteBox application in GitHub, managing repository access, and enabling streamlined integration for efficient project deployment
What is Git and why do we use it?
In today's software development projects, effective source code management is crucial for success. Traditional methods, such as manual transferring files via FTP, are insufficient and have their drawbacks. Git, a modern version control system, offers many advanced features that significantly improve project work.
Here’s why we use Git:
- Change tracking and version history - Git stores a complete history of changes, allowing you to review, restore, and analyze previous versions of the project.
- Security - A Git repository, being a full copy of the project, increases data security and minimizes the risk of losing work.
- Automation and integration - Git integrates perfectly with continuous integration and delivery (CI/CD) tools, automating the build and deployment processes.
- Team collaboration - Git allows multiple developers to work on a project simultaneously without the risk of overwriting changes.
What is GitHub
GitHub is a hosting platform for software development projects that uses the Git version control system. It enables developers to store, manage, and track changes in the source code of their projects.
In short, GitHub is a platform that stores Git repositories.
GitHub is widely used by developers, project teams, and companies around the world for managing and collaborating on software projects.
How can I start with Git and GitHub?
To start using GitHub, follow these steps:
-
Create an GitHub account
Go to GitHub and sign up for a new account.
-
Install Git
Download and install Git on your computer from the official Git website.
-
Configure Git
Open a terminal (you can use Git Bash on Windows) and configure your user information:
git config --global user.name "Your Name" git config --global user.email "[email protected]" -
Create a new repository
On GitHub, click the
Newbutton next to your list of repositories.Name your repository and optionally add a description. You can also choose to make the repository public or private.
-
Clone the repository to your computer
In the terminal, type:
git clone https://github.com/your-username/repository-name.git -
Add files to the repository
Navigate to the repository directory:
cd repository-namePaste your project's files to the directory, and add them to the repository:
git add .Commit your changes:
git commit -m "First commit" -
Push changes to GitHub
In the terminal, type:
git push origin main
Now your repository is synchronized with GitHub, and you are ready to connect GitHub account with SiteBox.
How to connect to GitHub?
To connect SiteBox Dashboard to GitHub, you need to have a GitHub account. If you don't have one, you can create it here for free. Once you have a GitHub account, you can connect it to SiteBox Dashboard by following these steps:
-
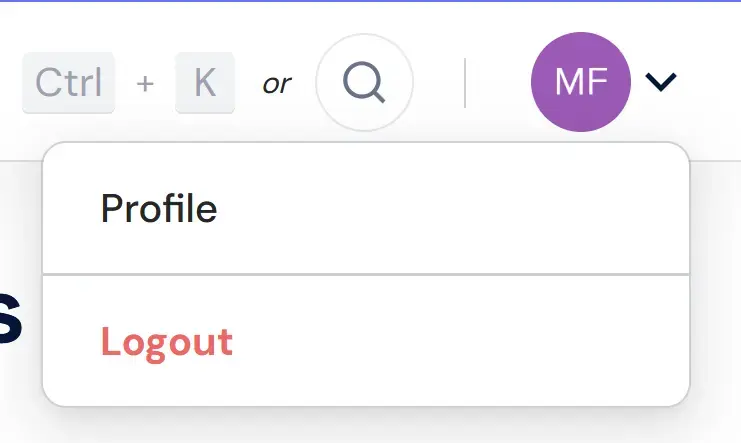
Go to the Profile page in the SiteBox Dashboard.
-
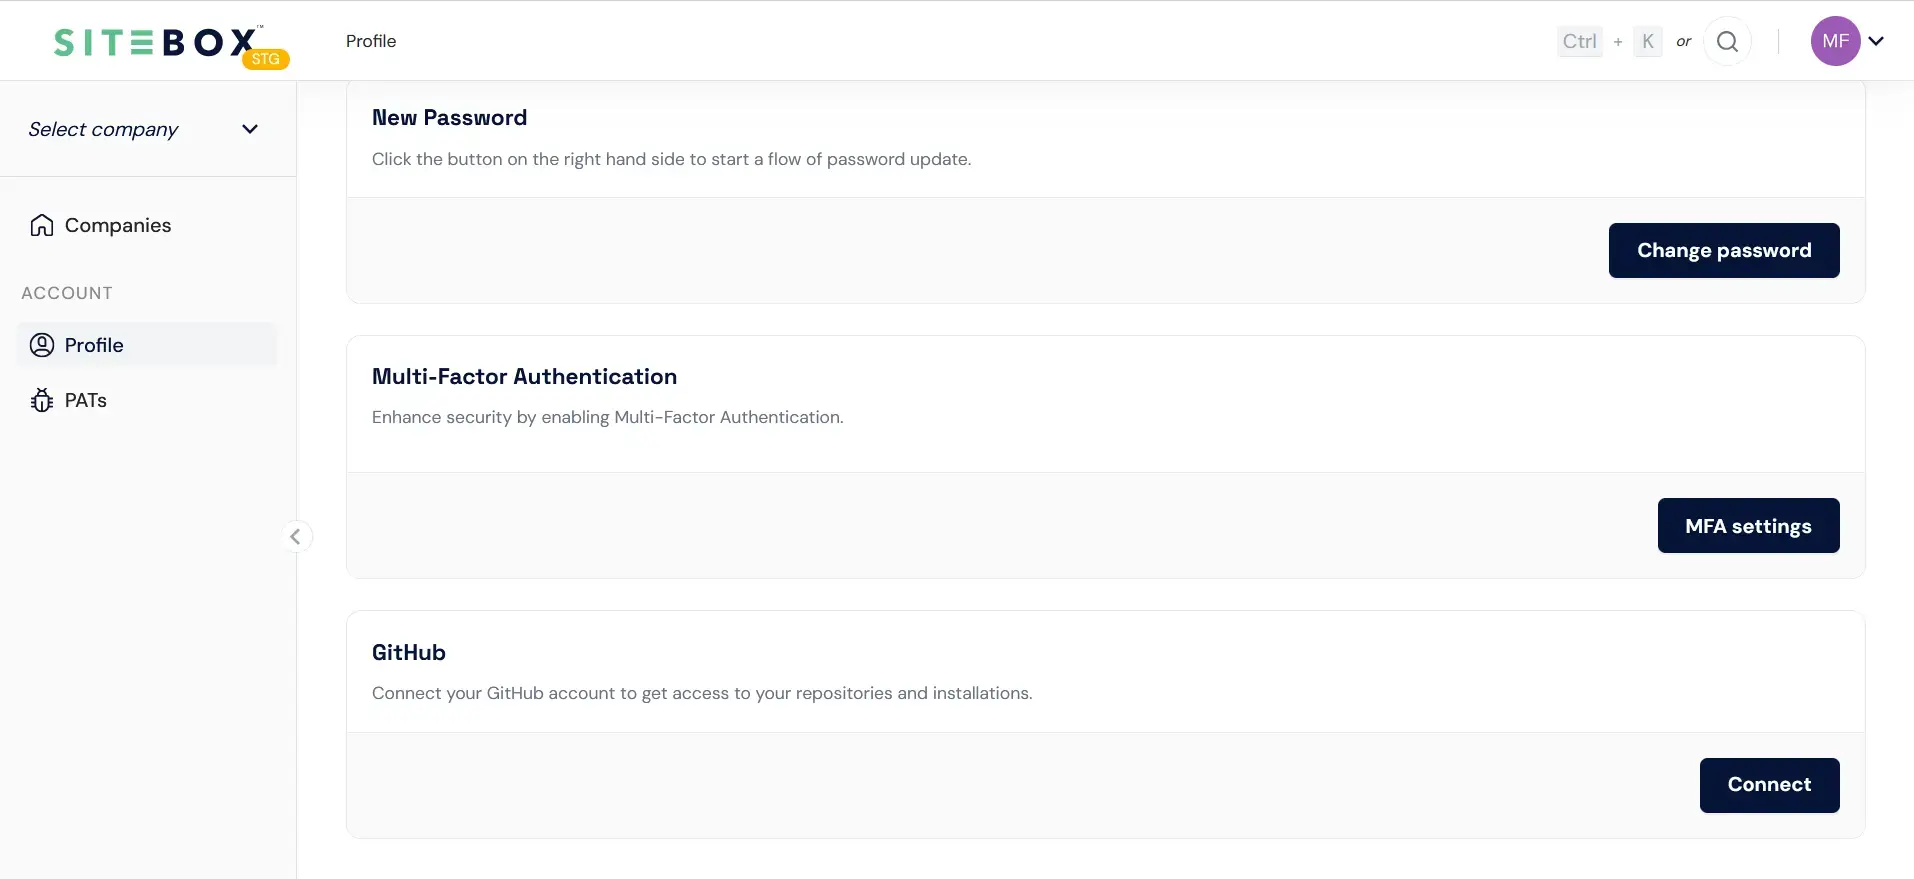
Scroll down to GitHub section.
-
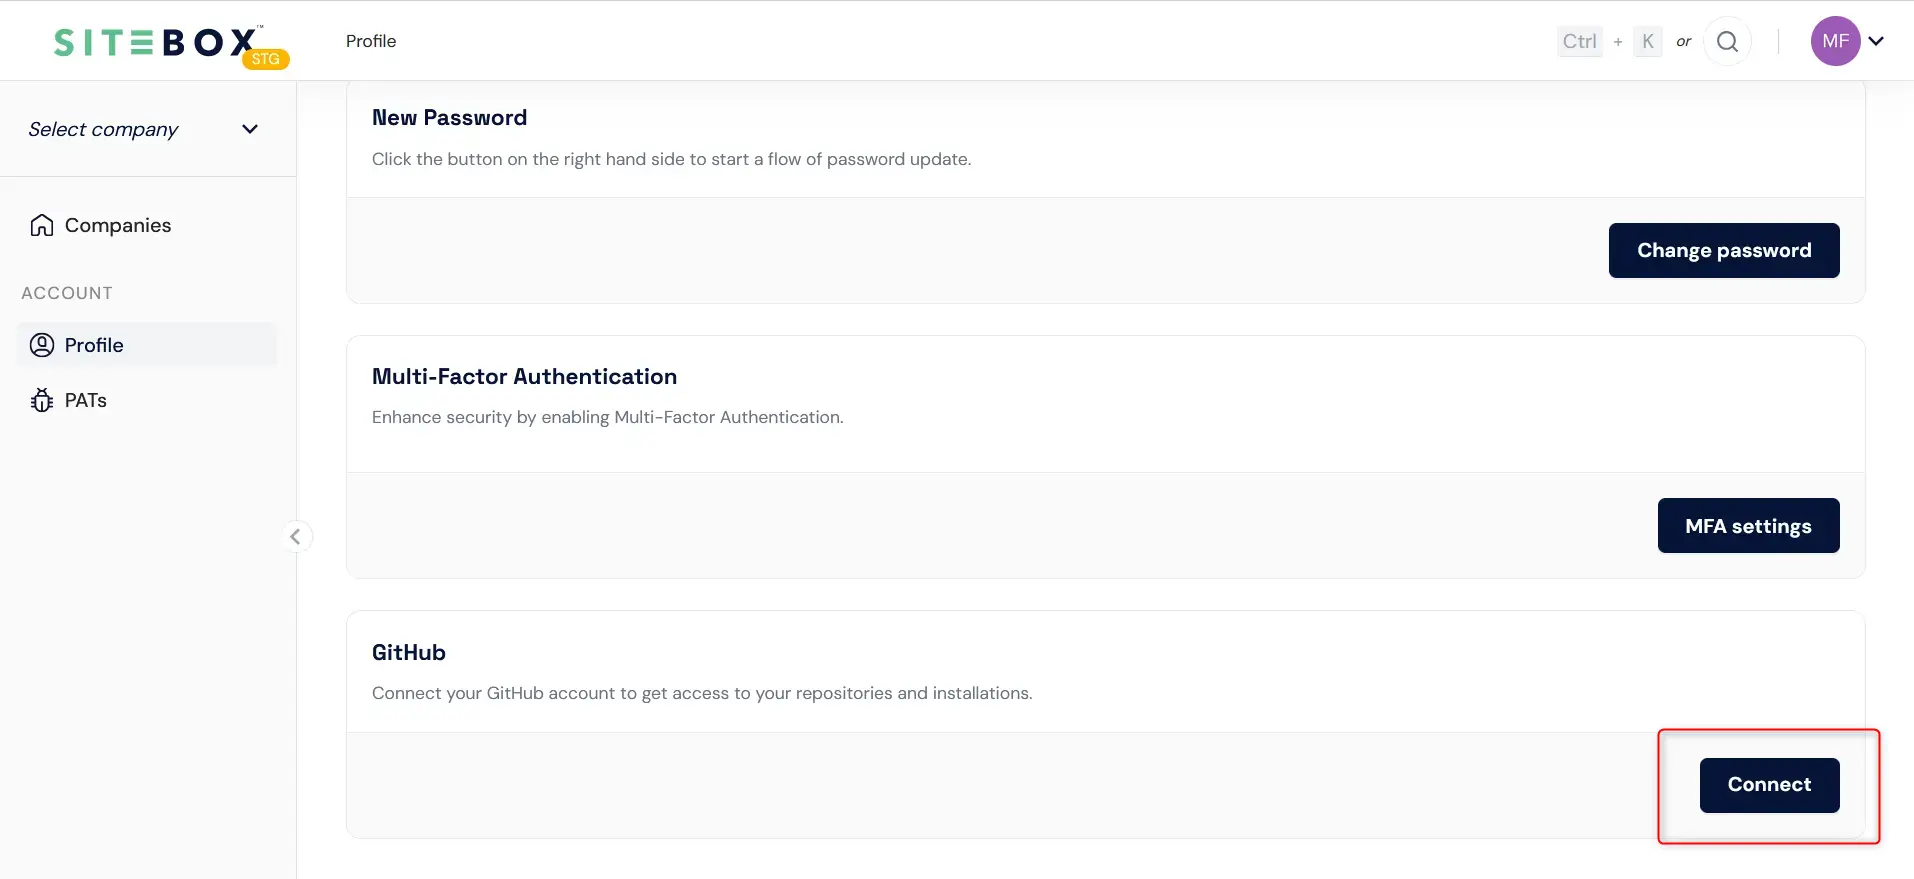
Click on the "Connect" button.
-
You will be redirected to GitHub, where you can specify which GitHub account or organization you want to authorize for SiteBox Dashboard access. This authorization enables you to seamlessly install SiteBox projects into repositories associated with the selected account or organization.
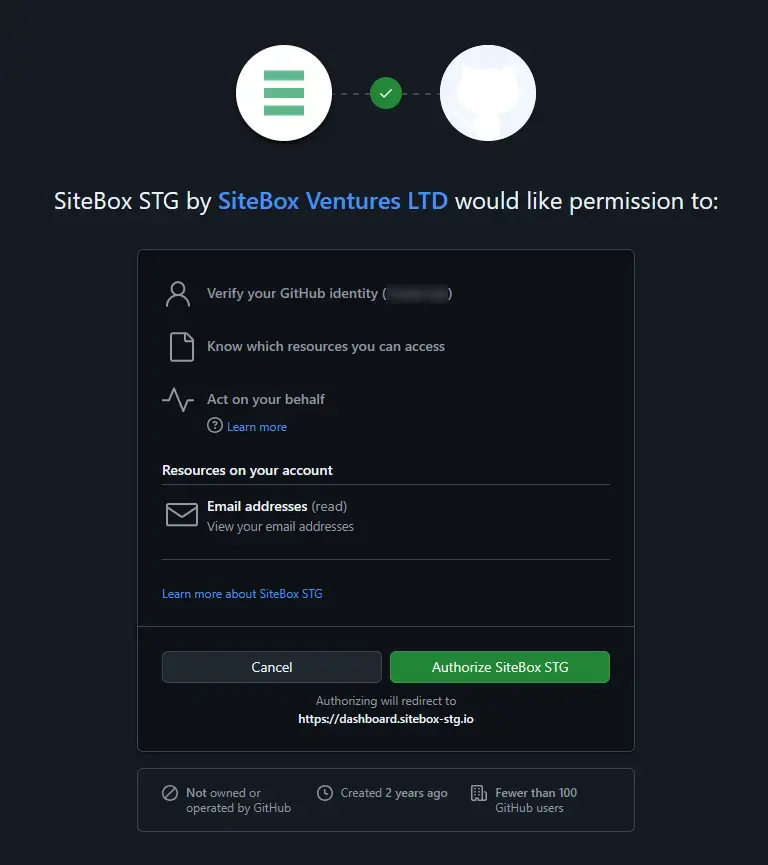
With this configuration in place, you'll have the capability to effortlessly install SiteBox projects into the repositories linked to your GitHub account or organization.
How to manage installations?
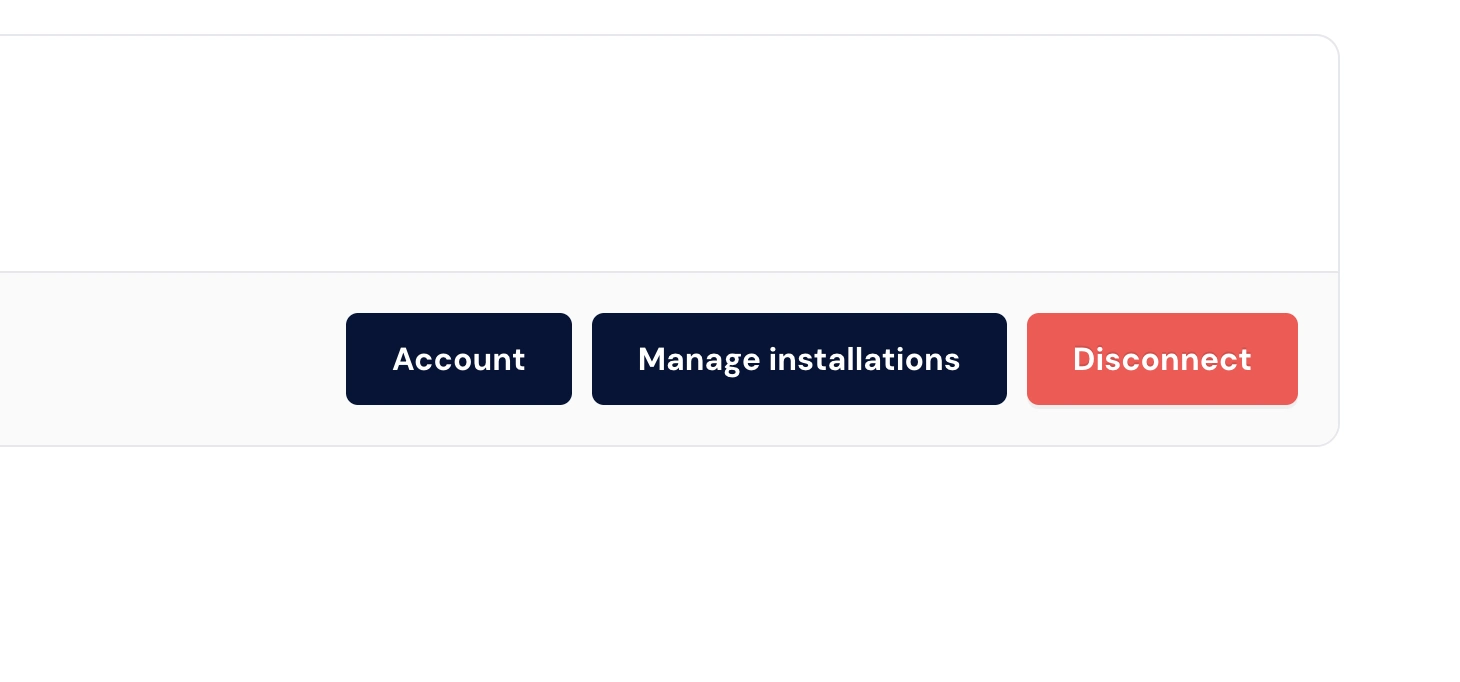
The "Manage installations" section provides an organized overview of your accounts/organizations and within then list of all SiteBox projects installed in repositories associated with them.
How to disconnect GitHub?
To disconnect your GitHub account from SiteBox Dashboard, follow these steps:
-
Go to the Profile page in the SiteBox Dashboard.

-
Scroll down to "Integrations" section and hover over gear shaped icon next to the "GitHub".

-
Click on the "Disconnect" button.