Shadowing blocks
One of the possibilities offered by working with blocks is shadowing. This allows you to adapt an existing block to your needs and give it new settings and functionalities.
If you are working on a project based on the SiteBox Luna template, you can use the @wordpress/create-block library.
You should navigate to the backend folder in your project and create this component using npx.
npx @wordpress/create-blockThe above command will run a generator in which you can configure your block (more about it can be found in the
documentation). What is important is that the newly created block must have the same name as the shadowed block, in this
case, timeline.
Below is an example configuration for a new block that will be shadowed:

To use the block now, you need to move it to the right place and do a little configuration work. The created block is a
plugin, and we can run it by moving it to the plugins folder. The easiest way to do it is using the terminal and
running the command:
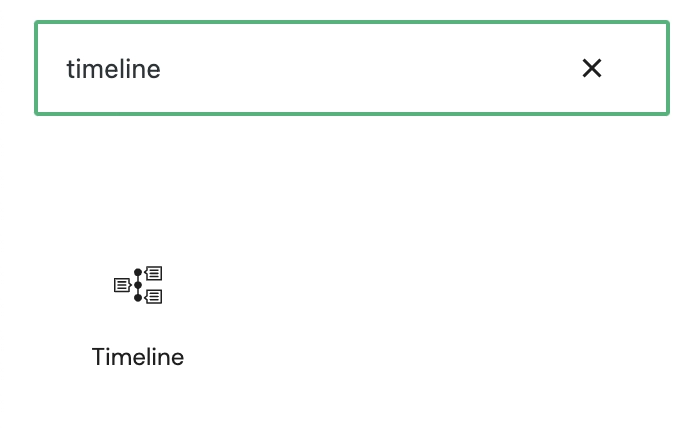
mv timeline plugins/At this moment, the Gutenberg editor has the timeline block available from WordPress SiteBox Blocks.

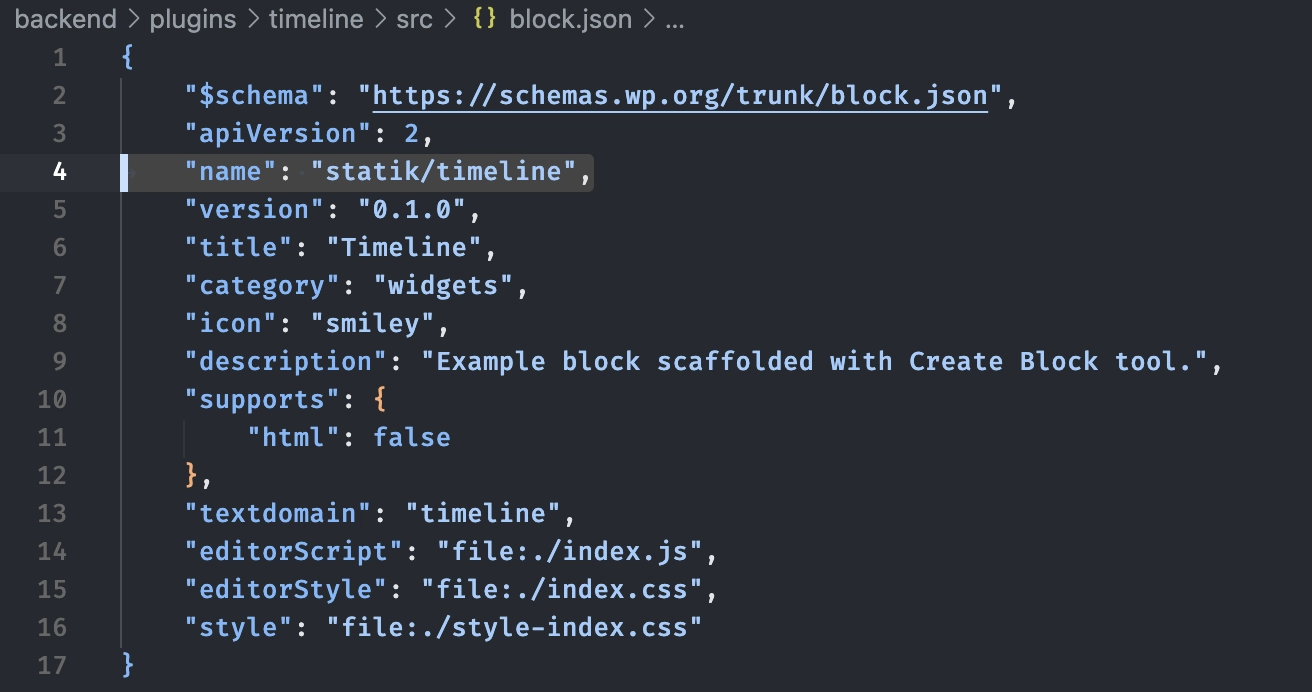
To run the shadowed block, make sure that the name of the block in the block.json file is the same as the block you
want to overwrite. In this case, it is statik/timeline.

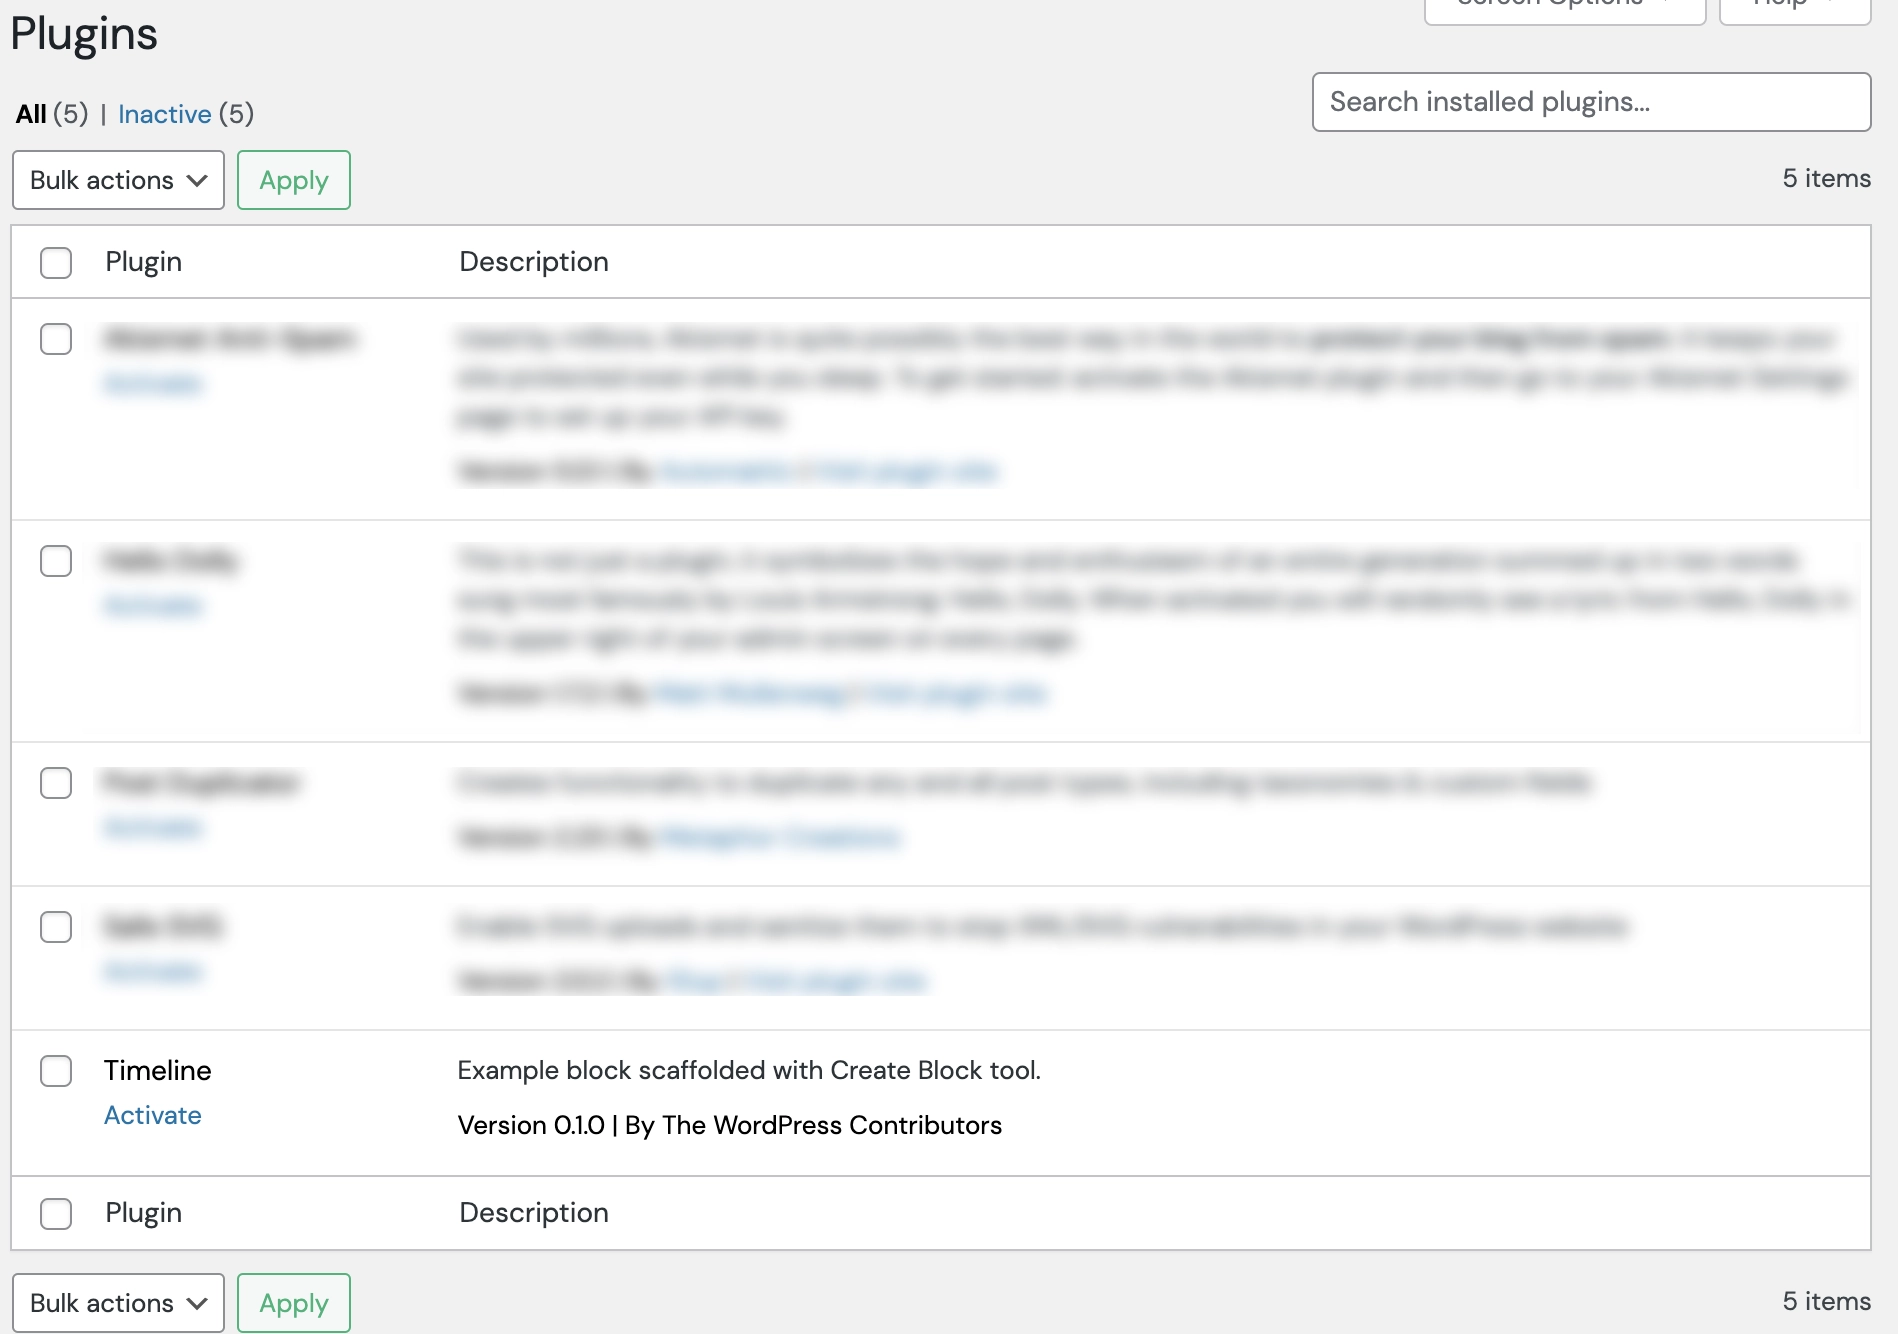
In the next step, it is required to run the plugin in the Plugins tab. Things like description or icon can be set from
the block.json file.

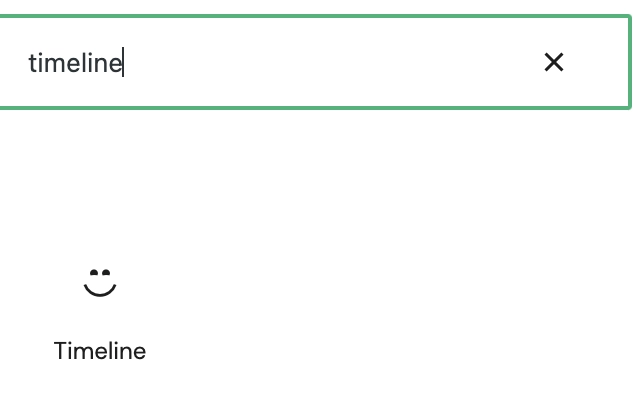
After activating this plugin in the Page Editor post, you should find your previously created block instead of the block
from WordPress SiteBox Blocks.

At first glance, you can see that the icon is different and represents the one set when creating the block.