Creating blocks
The provided package WordPress SiteBox Blocks offers a set of basic blocks, but in some cases, this set may not be
sufficient. If the user needs a completely new block, they can create it in several ways.
The fastest and easiest way to create a new block is to use the package @wordpress/create-block.
To do this, you need to run the following command from the backend folder:
npx @wordpress/create-block my-blockThis will create a new block in the form of a plugin, which has been named my-block (with basic configuration). This
block should be moved to the plugins folder. The quickest way to do this is using the mv command:
mv my-block plugins/And activate the moved block from the Plugins tab. However, remember that the name must be unique, as if we repeat a
name that already exists, we will overwrite the block (more on this in the
"Shadowing blocks " tab).
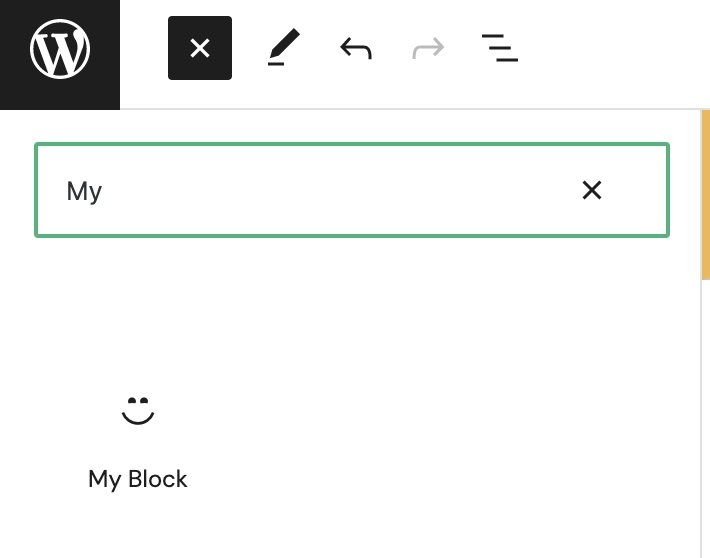
Now, when editing a page in WordPress, you can quickly find the block we created by simply typing its name in the search bar.
Such a created block is a fully valuable component that can be used in both Headless and standard WordPress projects.
Alternative ways
The above method of creating new blocks is the fastest and easiest. A block created using Create block can be placed
in the mu-plugins/plugins folder where it will be automatically activated. However, this is not recommended as it
requires additional work to maintain these blocks in their current location when updating the boilerplate.
An alternative and most commonly used method on projects is to create a blocks directory in the themes/statik folder
in the theme and place the created block there. However, to make it work, some modifications to files need to be made,
which will be described below.
To quickly create such a directory while in the backend folder, use the command:
mkdir themes/statik/blocksand move the previously created block directory from the backend folder to the newly created directory:
mv my-block themes/statik/blocksThe next step is to modify my-block.php. The quickest way is to replace the code generated by the generator with the
following:
<?php
declare(strict_types=1);
namespace StatikBlock\MyBlock;
use Statik\Blocks\BlockType\AbstractBlockType;
/**
* Class MyBlock
*/
class MyBlock extends AbstractBlockType
{
}After this, the next action is to add functions to functions.php responsible for registering the blocks.
/**
* Register new blocks.
*/
\\add_action('init', static function (): void {
// Make sure that plugin is enabled.
if (false === \class_exists('Statik\Blocks\Plugin')) {
return;
}
// Load all blocks classes.
require_once 'blocks/my-block/my-block.php';
// Register block in the Blocks Manager.
Statik\Blocks\DI::BlocksManager()->registerBlockType(
StatikBlock\MyBlock\MyBlock::class
);
});To run the block, you need to make some modifications within the js/json file structure.
The first thing we need to do is move the block.json file from the src directory to the main block directory. From
the main folder level, you can do this quickly using the terminal
mv src/block.json .Now, if you want to rebuild the block using npm run build, errors related to incorrect file paths will appear in the
console. So is required fixing them
In the block.json file, replace the paths to the files from the built block, which is the build folder. The correct
paths look like the ones below:
"editorScript": "file:./build/index.js",
"editorStyle": "file:./build/index.css",
"style": "file:./build/style-index.css"In the index.js file, correct the path to the metadata imported from block.json, since the file is moved one level
up, just add . in the path of this file:
import metadata from "../block.json";After above changes you can see your block in editor 