Installation
SiteBox based projects require some additional software. As a developer, you probably have some of them installed already. In case you don't, below you will find a list of all dependencies and instructions how to install them.
Prerequisites
Node.js installation
According to Gatsby.js official documentation, Node.js is an environment that can run JavaScript code outside a web browser. Both Gatsby and SiteBox tools are built with Node.js that require at least 14.15 version installed on your machine. Node.js comes bundled with a npm package manager. It will be used to manage packages required by both front-end and back-end environments.
Step one
Manual installation
- Go to https://nodejs.org/en/download/
- Download latest LTS installer (be sure that it's labeled LTS as it's most stable version):
- Launch installer and follow instructions as provided, until Node.Js installation is complete

Installation via package manager
- Go to https://nodejs.org/en/download/package-manager/
- Follow instructions and install Node.Js via your desired package manager
Step two
Verify installation
- To check whether your Node.js and npm has been installed properly, run following commands in your terminal:
- Press Command + Space Bar and type commands
node -vandnpm -v
Step one
Linux in comparison with Windows and Mac works differently. It is due to the fact that Linux is open source
and offers way more freedom and customization. There are many different distributions of Linux. You can find
instruction on how to install Node.js for specific distribution on this page:
https://github.com/nodesource/distributions/blob/master/README.md.
Keep in mind that in order to install Node.js on your Linux system, you need to install Curl Command Line-Tool.
To install it, open terminal and paste sudo apt install curl
Step two
Verify installation
- To check whether your Node.js and npm has been installed properly, run following commands in your terminal:
- Press Command + Space Bar and type commands
node -vandnpm -v
Step one
Manual installation
- Go to https://nodejs.org/en/download/
- Download latest LTS installer (be sure that it's labeled LTS as it's most stable version)
- Launch installer and follow instructions as provided, until Node.Js installation is complete

Installation via package manager
- Go to https://nodejs.org/en/download/package-manager/
- Follow instructions and install Node.Js via your desired package manager
Step two
Verify installation
- To check whether your Node.js and npm has been installed properly, run following commands in your terminal:
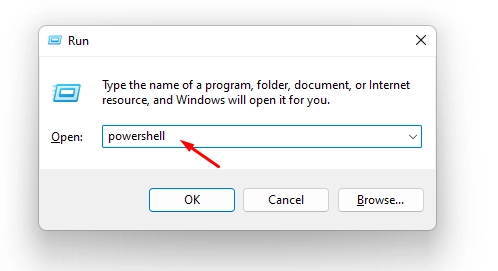
- Press Windows + R and type
powershell

- Inside
powershellterminal typenode -vandnpm -v:

Git installation
Git is a version control system that allows to manage changes in the code and help to work on a single project by multiple teammates at the same time. All SiteBox projects use Git for managing code by default.
Step one
In order to install Git on Mac Os, first of all you will need to install Homebrew (package management system for Mac)
- Press Command + Space Bar and paste
/bin/bash -c "$(curl -fsSL https://raw.githubusercontent.com /Homebrew/install/HEAD/install.sh)"to the terminal. This command line is responsible for installingHomebrew(screenshot here) - Next step is to install newest Git through
Homebrewcommand. Pastebrew install gitto the terminal. (screenshot here)
Step two
Verify installation
- To check whether Git has been installed properly, type
git --versionin the your terminal (screenshot here)
Step one
You can install Git on Linux through the package management tool that comes with your distribution.
- Complete instruction is on the official GitHub page https://github.com/git-guides/install-git
Step one
- Go to https://git-scm.com/download/win
- Download latest version fo Git:
- Download latest version fo Git:

- Launch installer and follow instructions as provided, until Git installation is complete
Step two
Verify installation
- To check whether Git has been installed properly, run following command in your terminal:
- Press Windows + R and type
powershell:
- Inside
powershellterminal typegit --version:
SiteBox CLI
SiteBox CLI is simply a toolset which lets developers streamline repeatable activities by developers within a SiteBox project.
Step one
- Open terminal
- Run
npm install -g @statik-space/statik-cliinside Git Bash terminal. This command is responsible for installing SiteBox CLI globally (screenshot)
Step two
Verify installation
- In order to check whether SiteBox CLI has been installed properly, type
statik --versioninside the Git Bash terminal (screenshot)
Step one
- Open Git Bash console by clicking right mouse on the desktop and selecting
Git Bash Here(screenshot) - Paste
npm install -g @statik-space/statik-cliinside Git Bash terminal. This command is responsible for installing SiteBox CLI globally (screenshot)
Step two
Verify installation
- In order to check whether SiteBox CLI has been installed properly, type
statik --versioninside the Git Bash terminal (screenshot)
Docker
This is an optional dependency that runs WordPress instance locally. In case you would like to develop front-end application with utilisation data of an on-line instance, you can skip this part. In case you would like to use local data in your front-end app, this step is required to spin up LEMP stack that exposes WordPress on your device.
Docker is in fact a service that can virtualize OS-level packages in so-called containers. Each of them is isolated from another, and it is expected to wrap a single functionality by bundling their own software, libraries and configuration files. In the SiteBox JAM Hosting, Docker is used to spin up a linux instance, with a web server nginx, php engine and mysql in exactly the same way, independently to the host operating system.
Step One
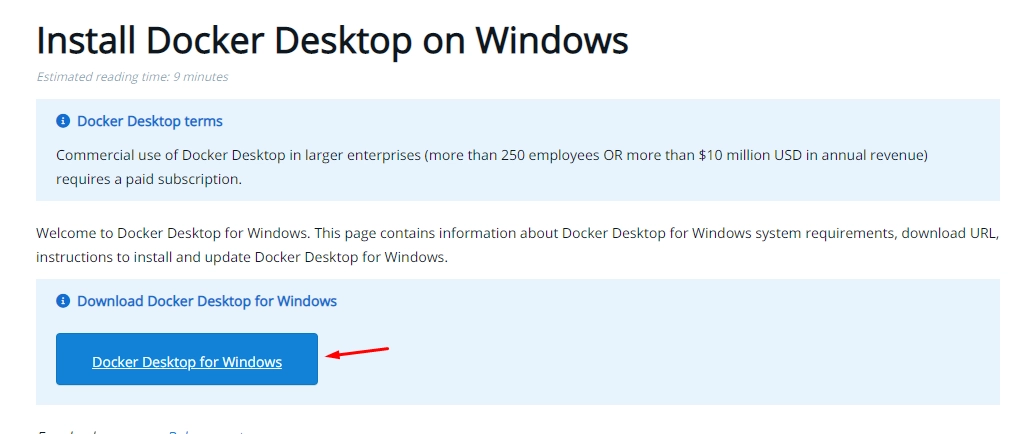
- Go to https://docs.docker.com/desktop/install/windows-install/
- Download Docker Desktop for Windows:

- Launch installer and follow instructions as provided, until Docker installation is complete
Step Two
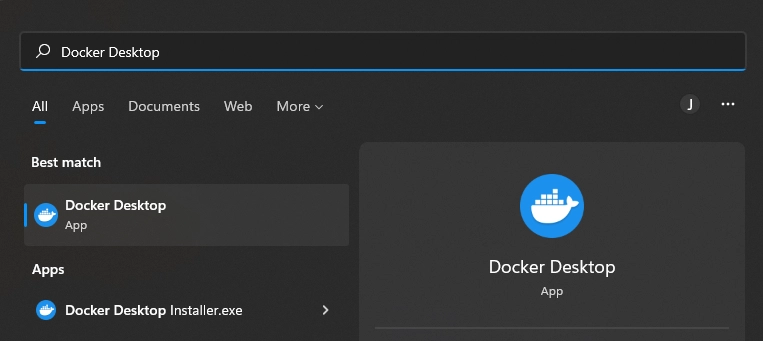
Docker Desktop doesn't start automatically after installation. It has to be launched manually.
-
Press
Windowsbutton, search forDockerand selectDocker Desktop
-
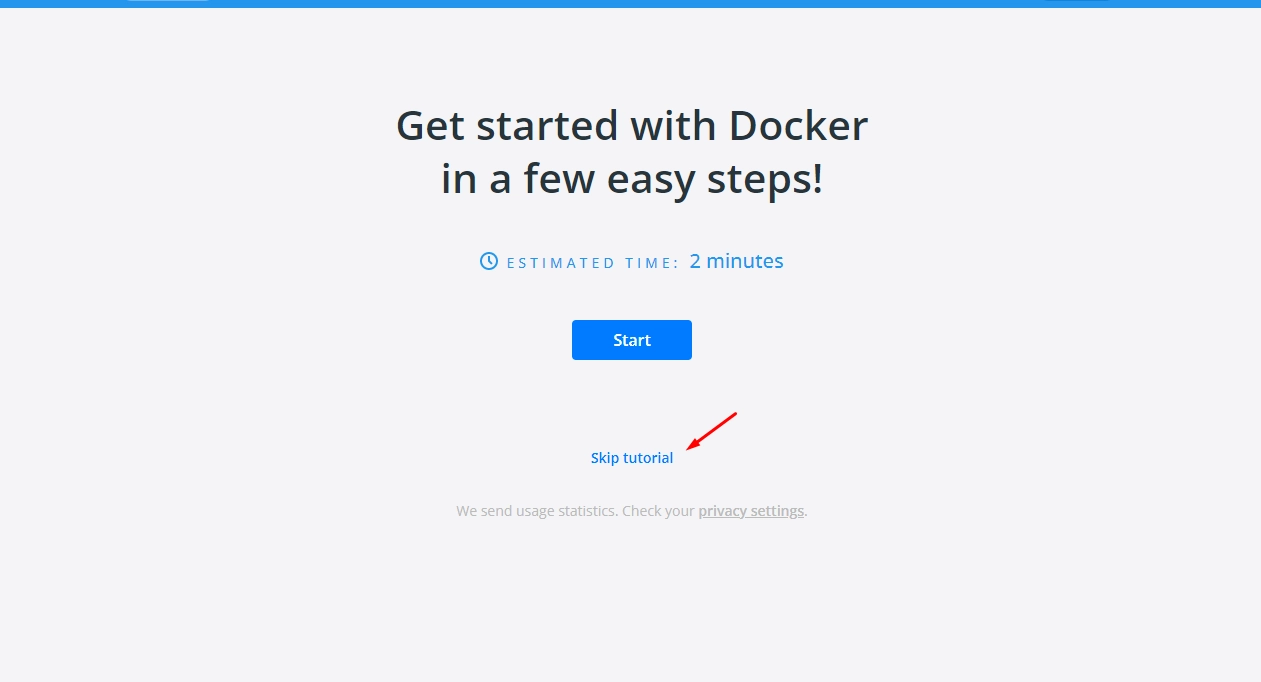
Skip docker tutorial (this step is unnecessary as it will clone, build and run redundant repository)

- Inside Docker window go to (this has to be consulted with Krzysiek) tbc