Preview
The Preview functionality in WordPress allows you to preview posts or pages before publishing them. This enables you to see how they will look on your website and make any necessary adjustments before making them public.
Preview is available in the post or page editor and allows you to see changes without leaving the WordPress admin panel. It takes the development experience to a new, higher level.
Depending on whether your project is based on classic WordPress or JAM stack, the Preview functionality may differ in its operation or execution time. However, by focusing on user experience and following established standards, this functionality has been prepared to meet even the most ambitious expectations.
Classic WordPress preview
The Preview functionality in classic WordPress works unchanged. Still, WordPress is responsible for preparing the preview of both pages and posts. No additional actions or procedures are required, and the preview of pages and posts is available almost instantly.
The detailed description of how to use the classic WordPress Preview functionality can be found in the official documentation of WordPress.
JAM stack preview
How to trigger a Preview
Although the Preview functionality in JAM stack projects doesn't utilize WordPress solutions under the hood, the way of launching the preview itself doesn't differ from launching the preview in classic WordPress.
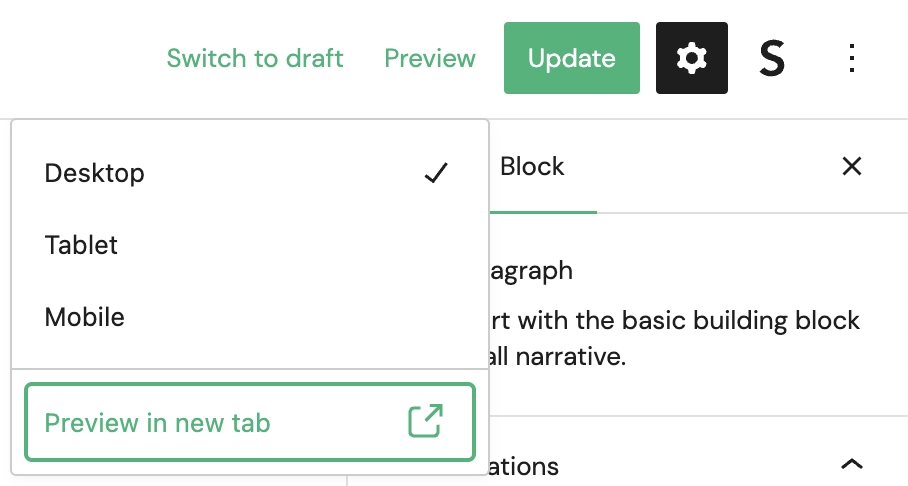
I assume that you have already made changes to the content of your page or post. The next and last step that needs to be taken is to click the Preview in new tab button under the Preview drop down:

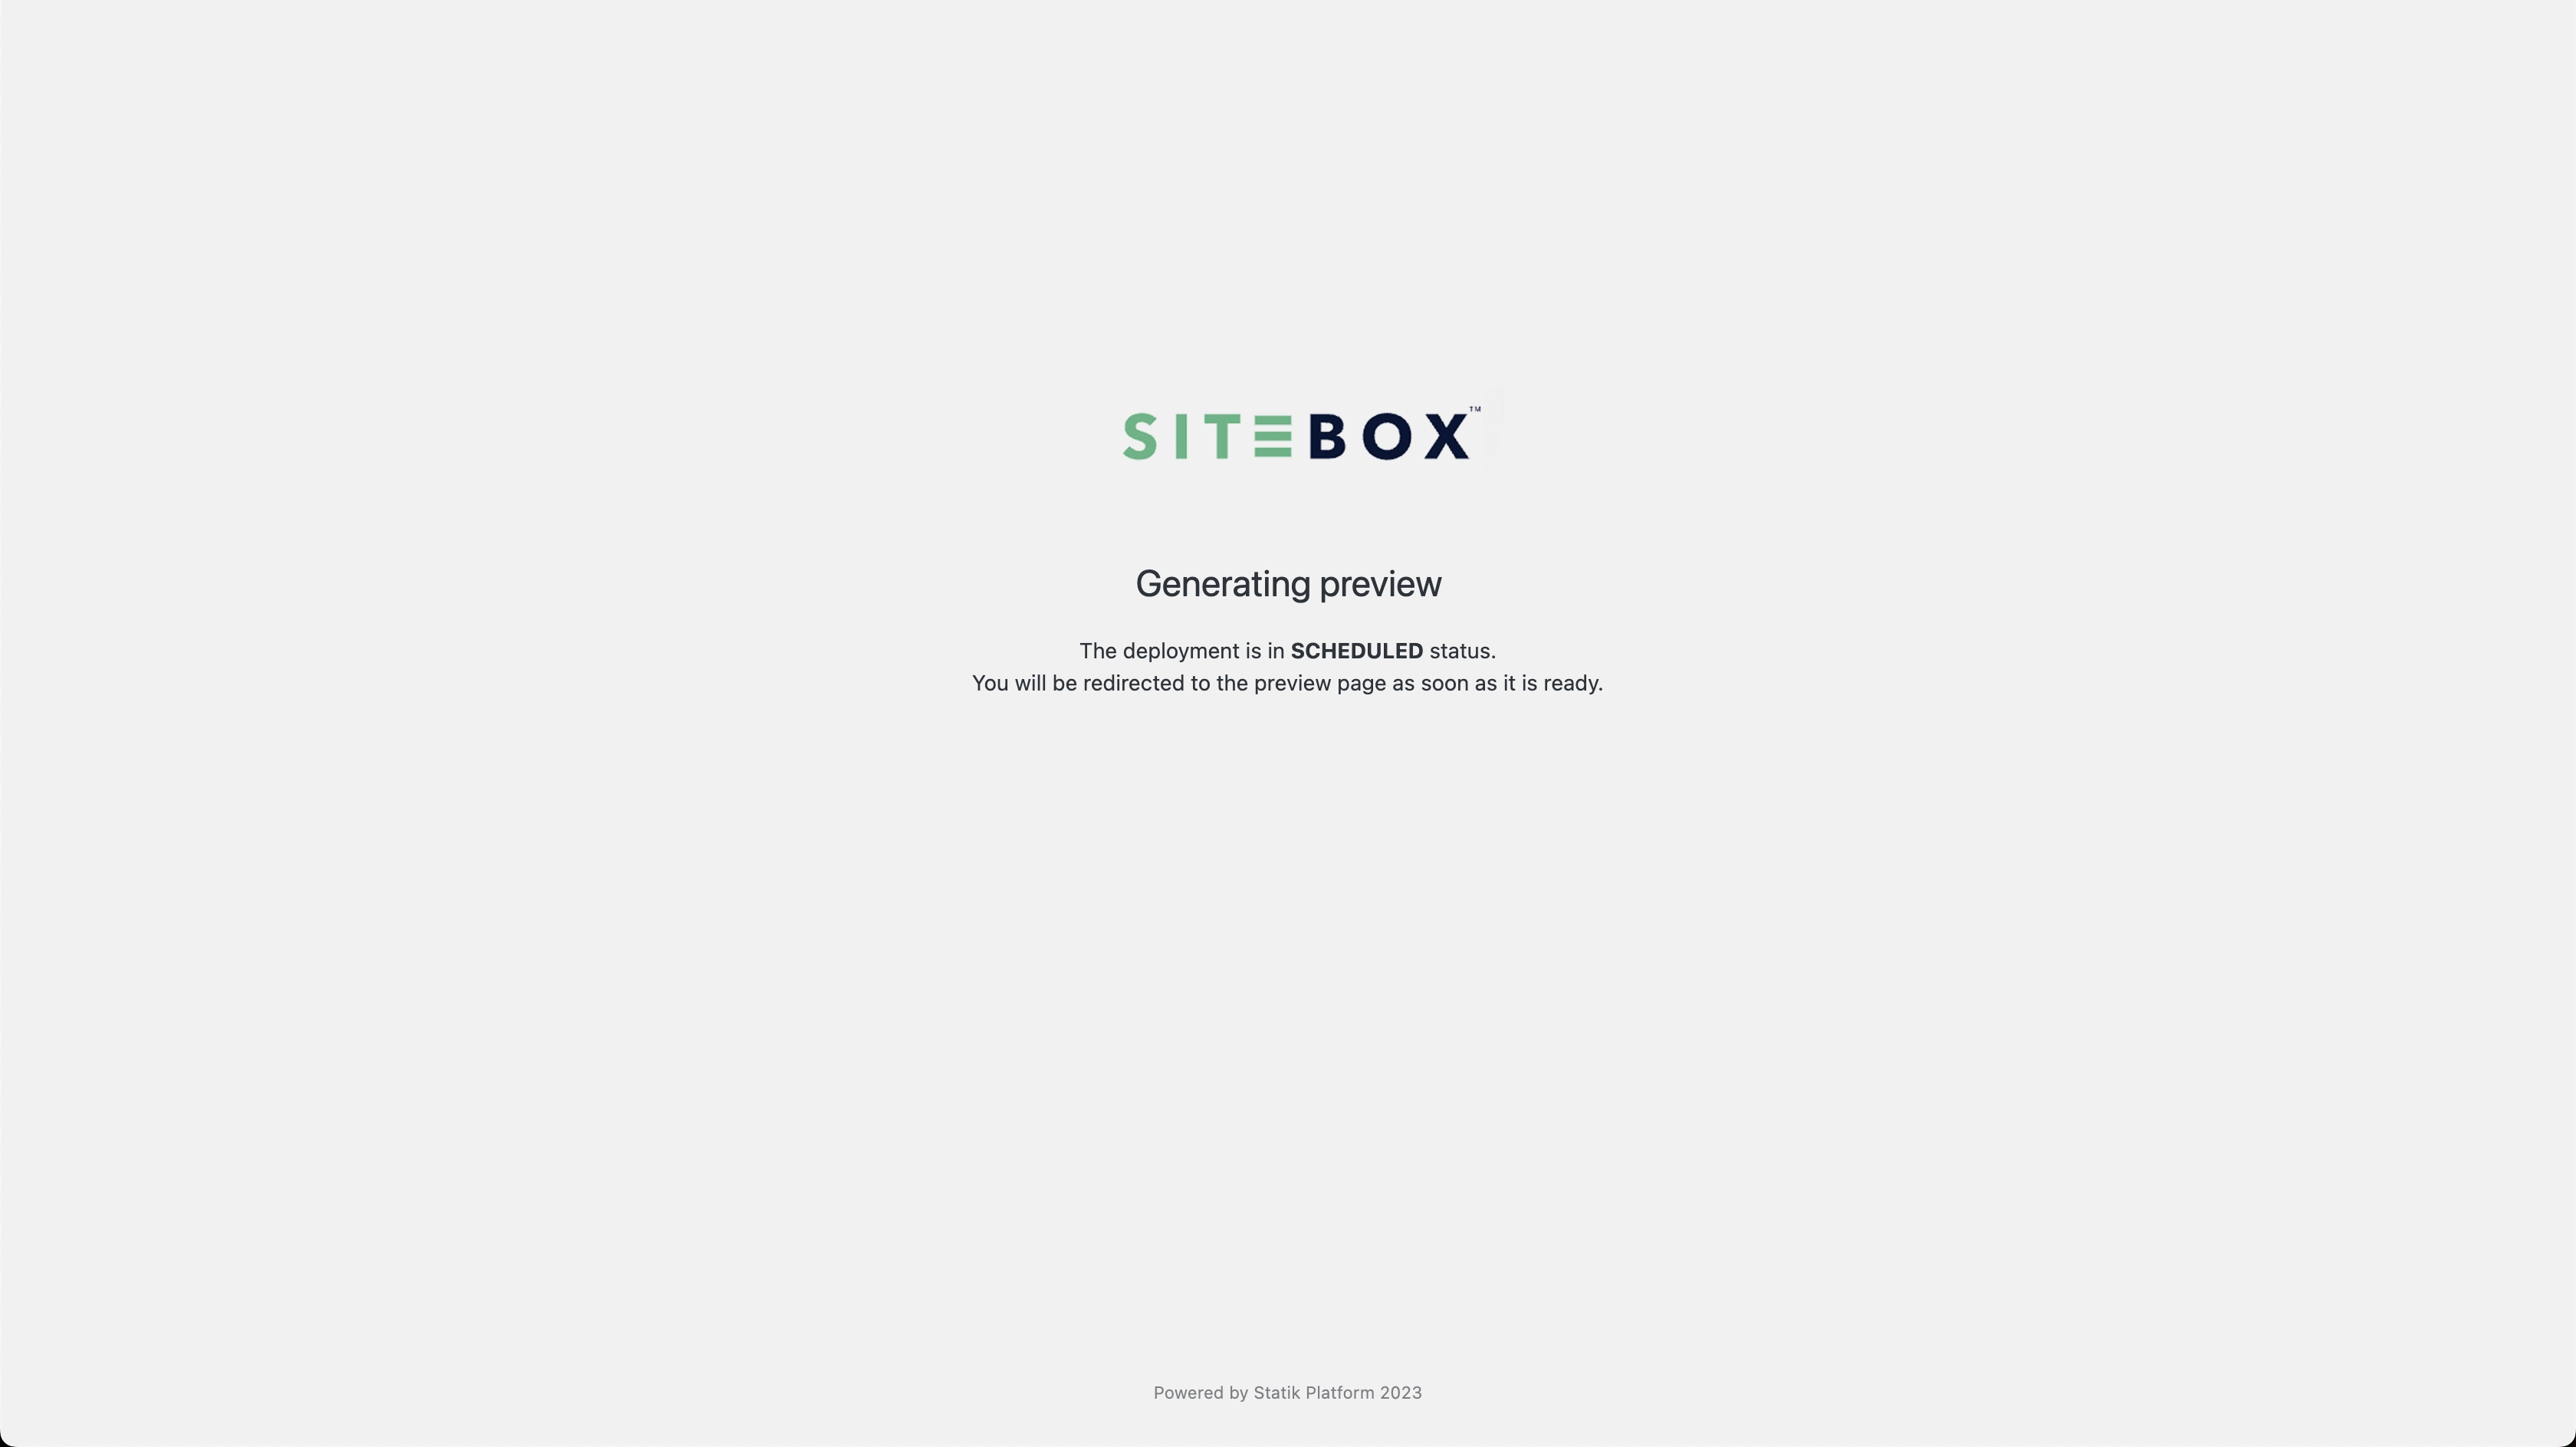
This will open a new tab in the browser and initiate the preview build process:

It takes a while, but the process is still several times faster than the standard application building process.
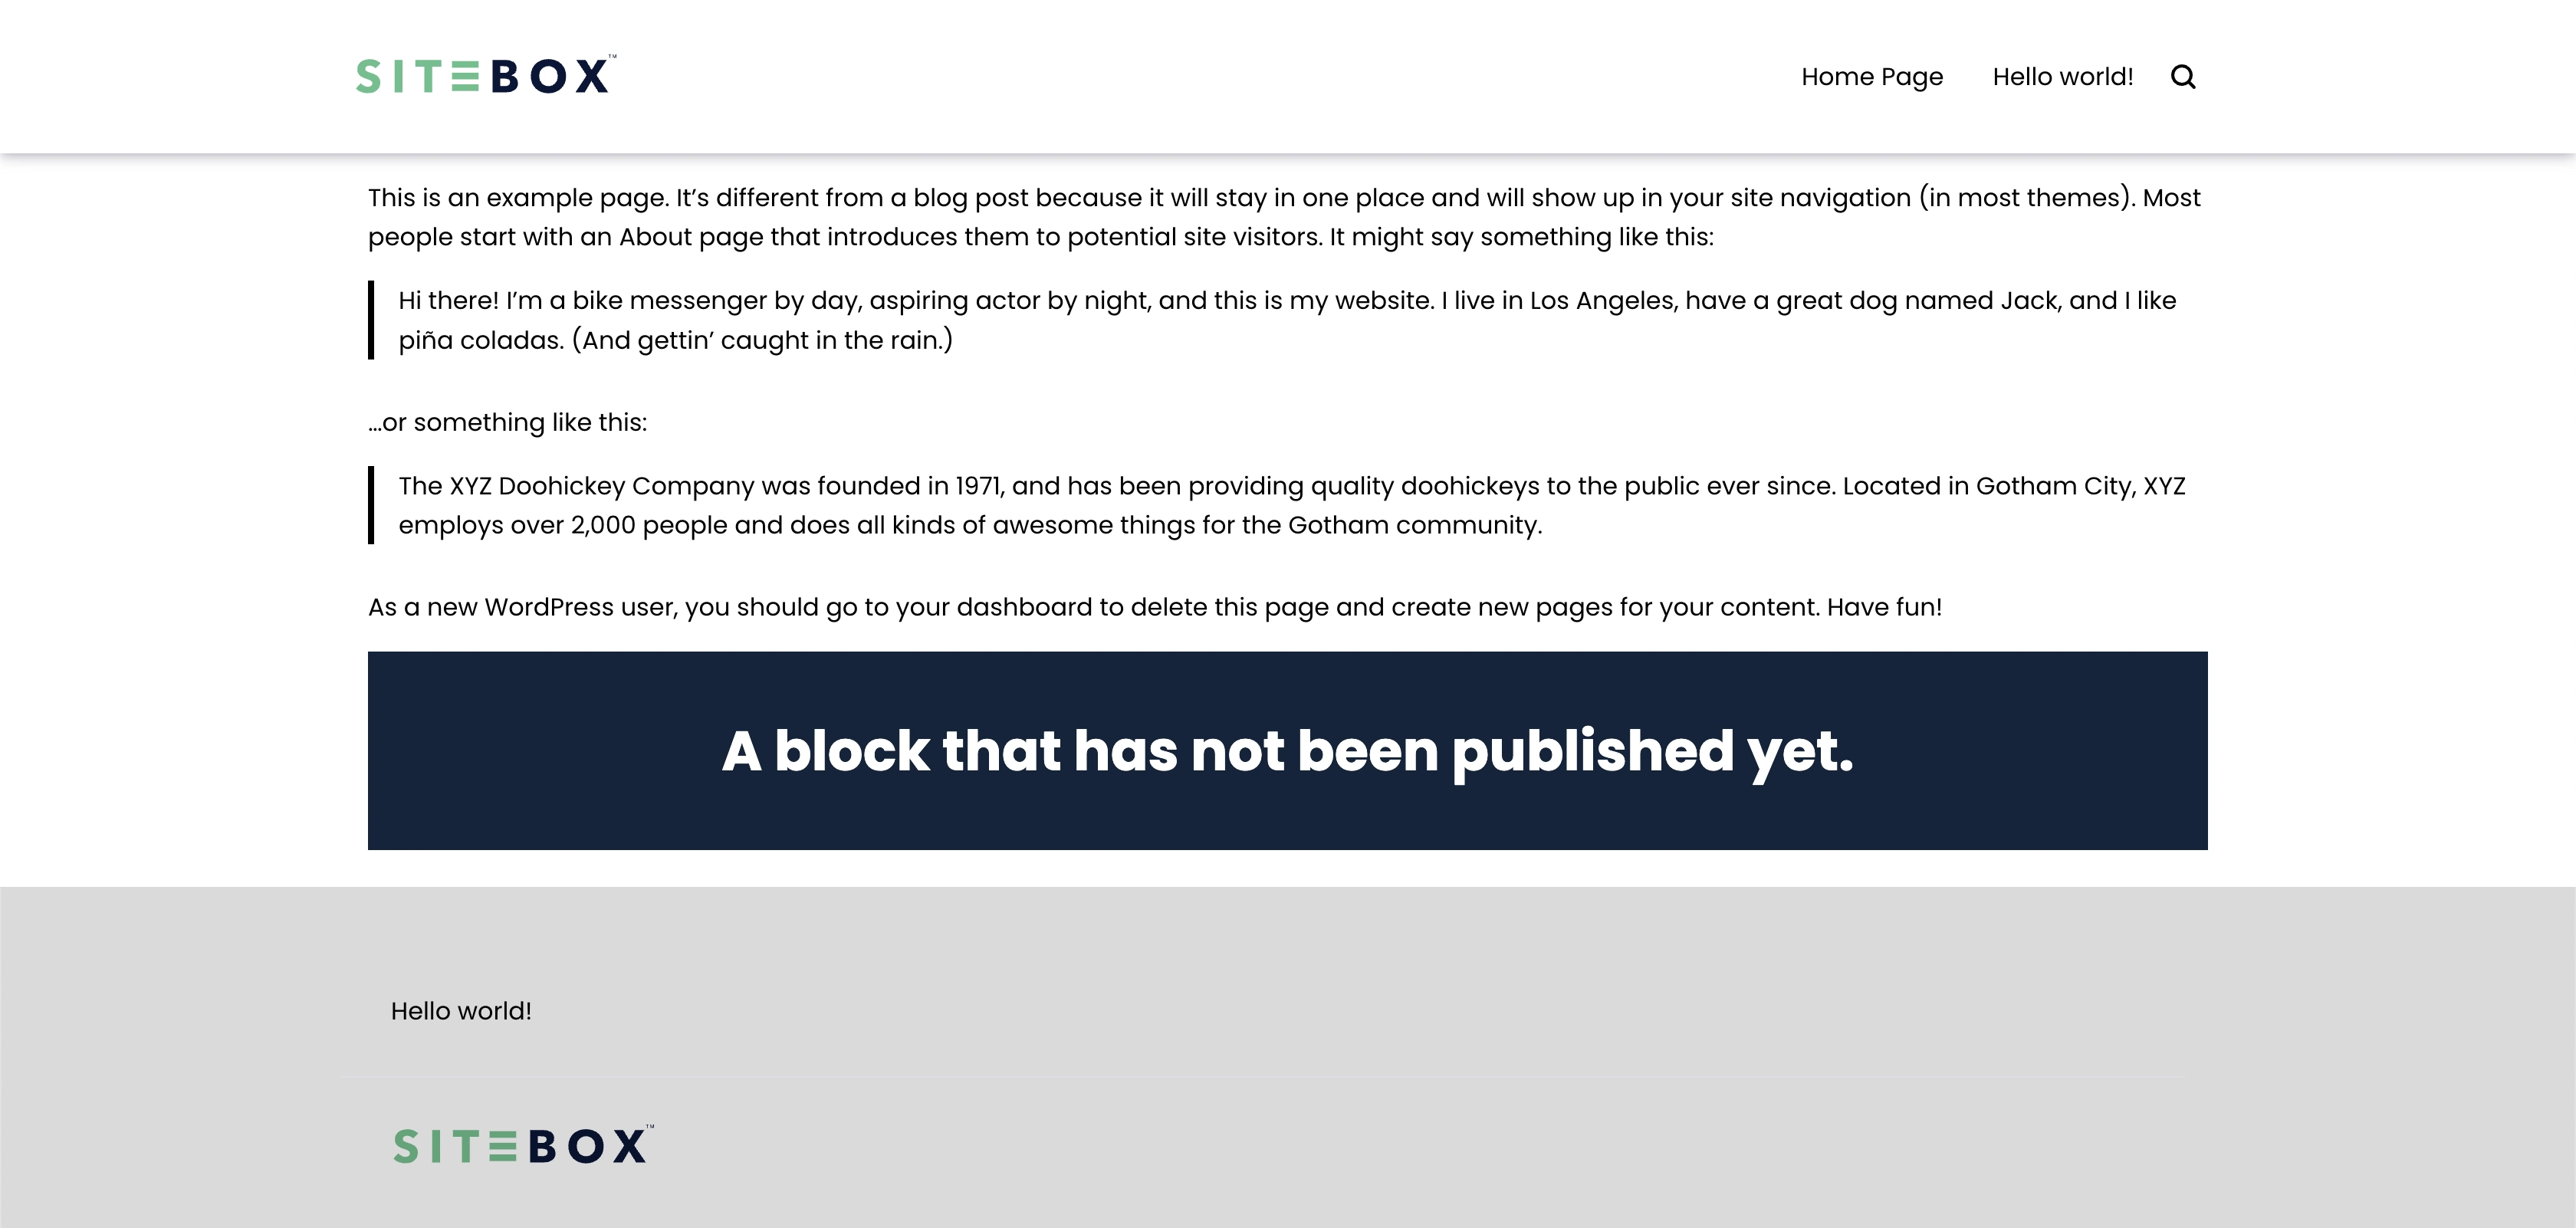
When the building process is completed, you will be automatically redirected to the generated preview of the page:

How the Previews are built
Due to the decoupled architecture, the responsibility for generating the Preview is transferred to the SiteBox's internal CI/CD.
Consequently, the Preview building process is based on the standard building process, taking into account certain improvements and modifications.
The preview generation process utilizes the incremental builds mechanism, which significantly reduces the building time.
In short, the whole process looks as follows:
- Preparation of the internal CI/CD and copying cache files to assure incremental build
- Running the preview building process with the appropriate parameters
- Deploying the application to a specially prepared bucket
Important notes
- The Preview is generated only for the specific page for which we run the Preview building process. Other pages will be accessible, but they will not be rebuilt.
- Previews can be generated for pages generated in
every possible way, as long as the
context.idof page equals theidof the post we want to preview, and the page's URL matches the WordPress one. - Preview can be generated for posts with both "Draft" and "Published" statuses.
- Still, under the hood, the standard build process is taking place, so it should be kept in mind that all side effects implemented by the developers will be executed in this process. Therefore, it is also important to take care of performance here, for example, by utilizing caching.
- By default, the Preview building process tries to rebuild the entire page (including the elements shared across the
website, such as header or footer). This can be changed by manipulating the
STATIK_RESOLVE_STATIC_QUERIESenvironment variable. - Depending on the page status, the Preview URL will differ as follows:
- for "Published", the URL will remain unchanged,
- for "Draft", the URL will look like this:
/preview-page-${preview_id}/.